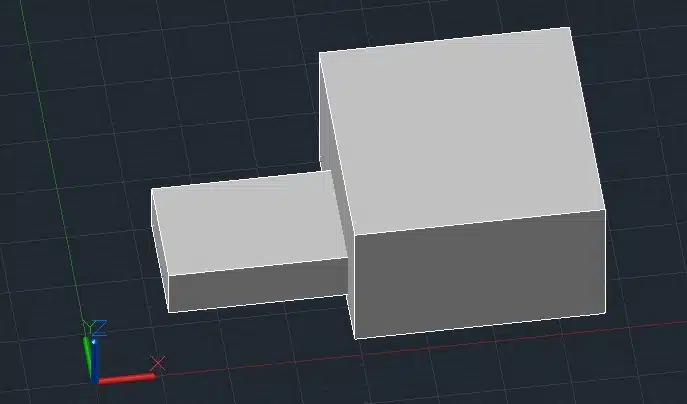
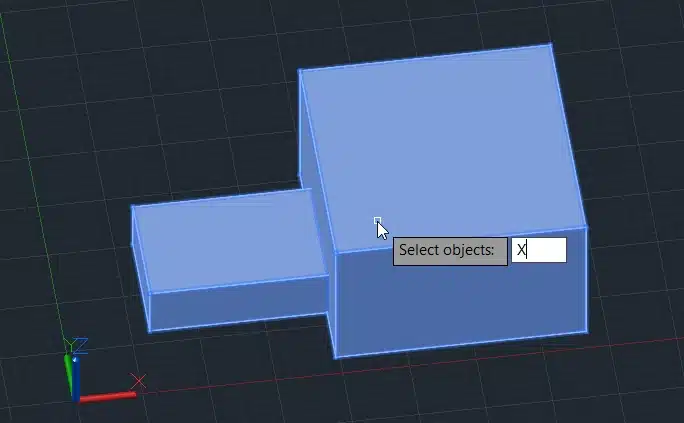
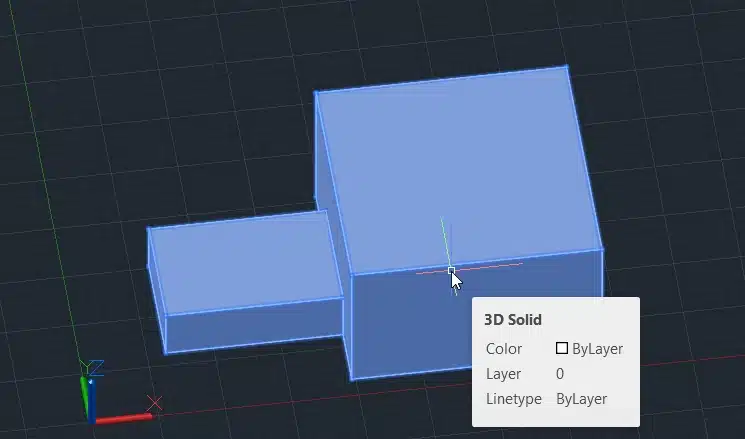
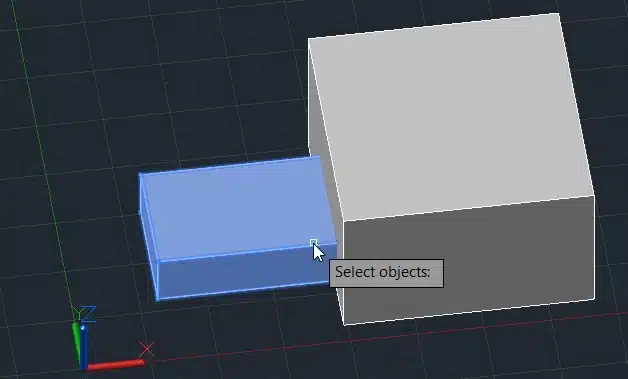
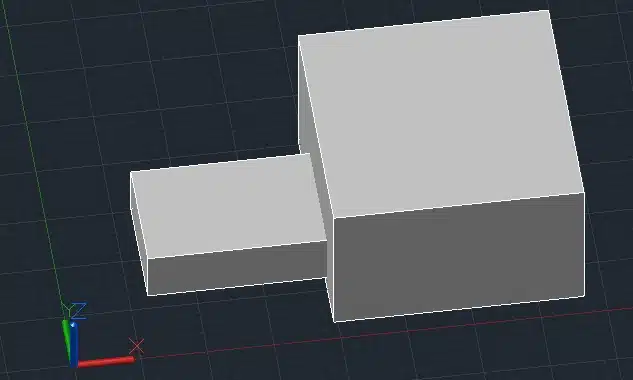
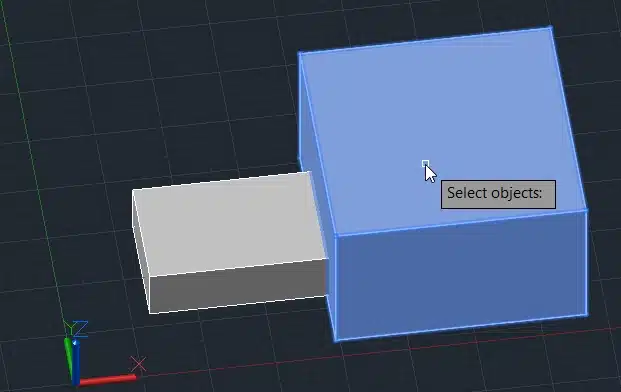
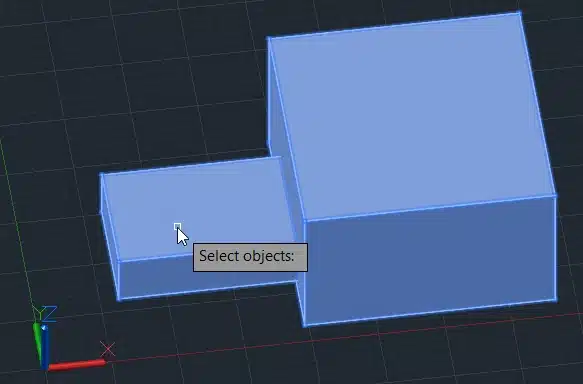
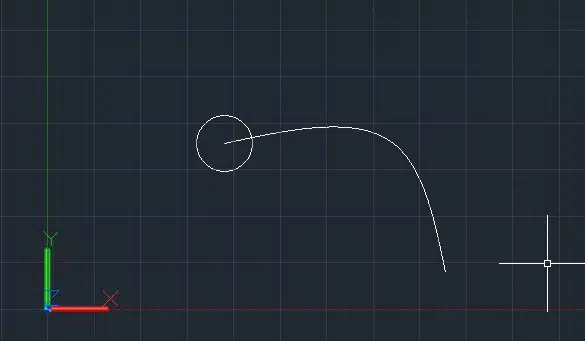
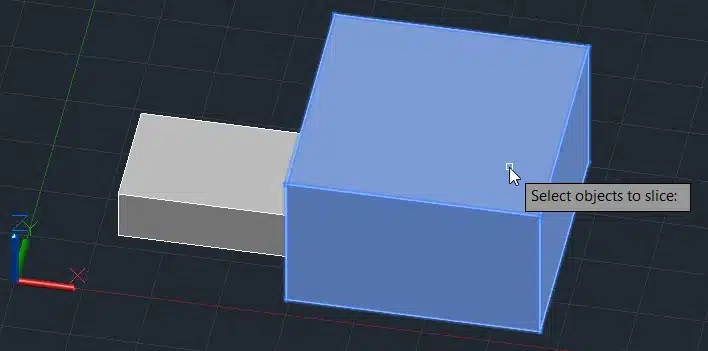
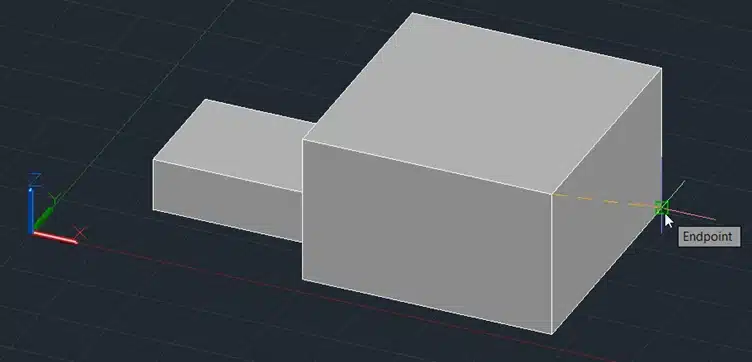
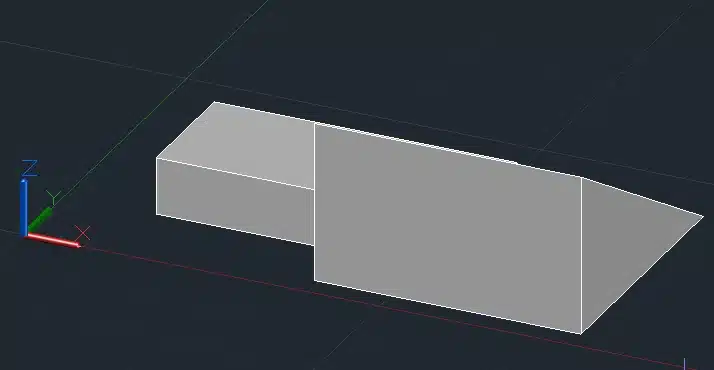
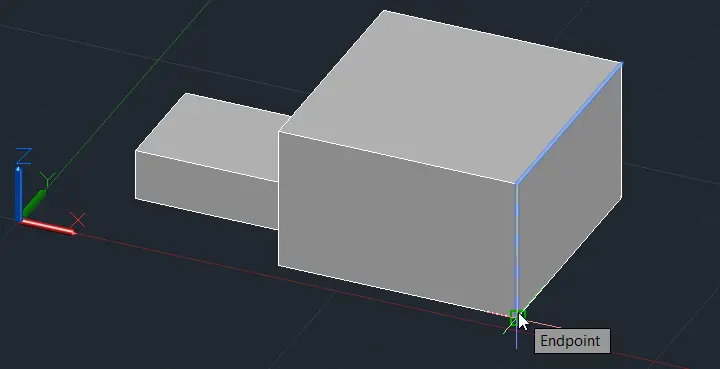
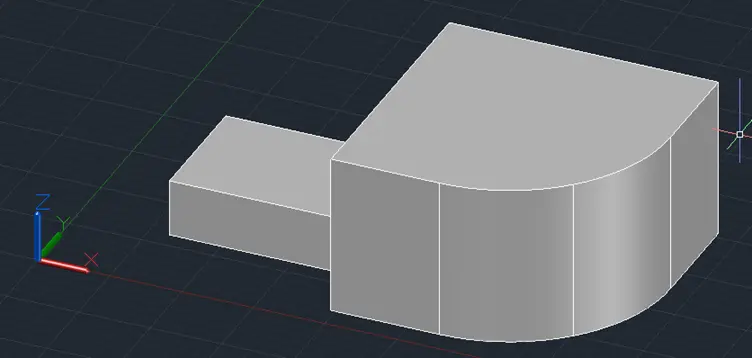
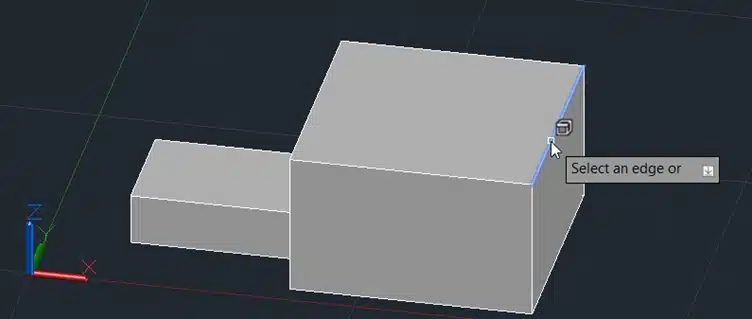
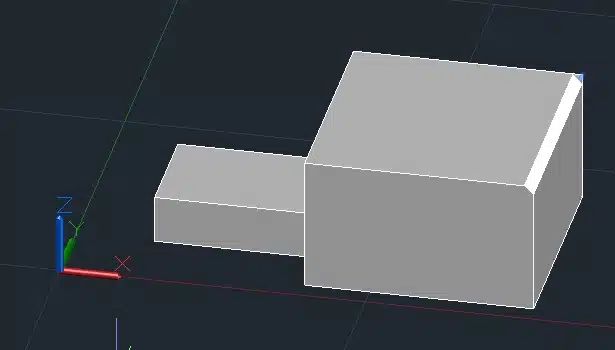
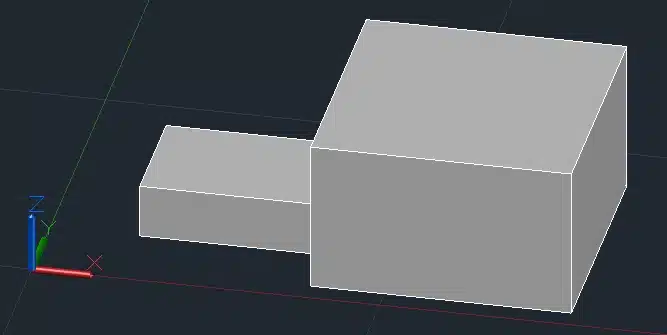
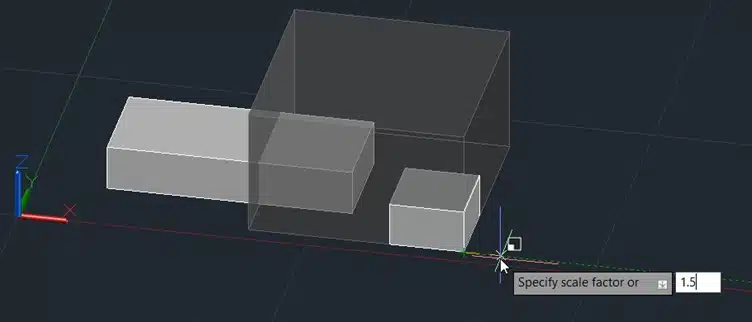
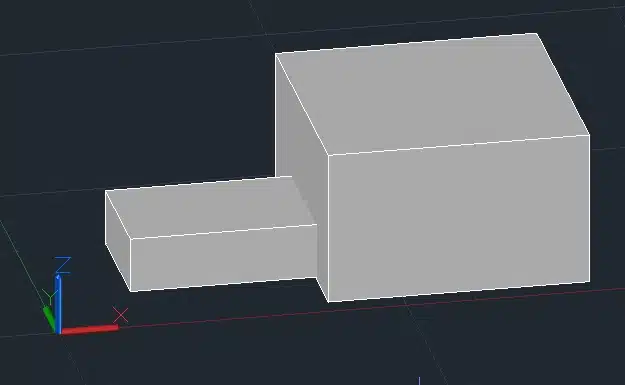
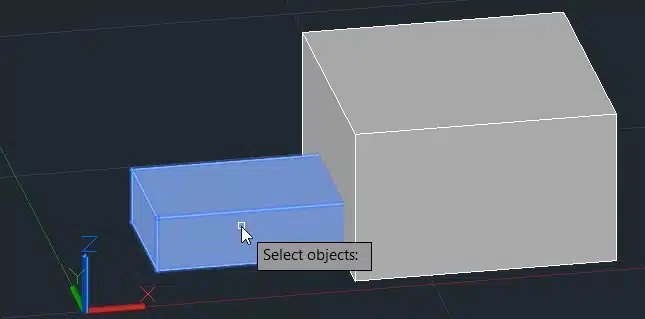
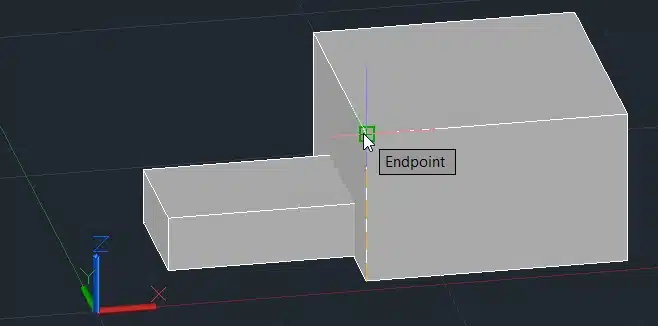
Top AutoCAD 3D Commands & Shortcuts with Examples
March 13, 2025 2025-04-07 17:02Top AutoCAD 3D Commands & Shortcuts with Examples


OR
(Ensure popup is allowed for this site)
Start your 3 days free trial now
Already have an account? Sign In
By clicking the button above, you accept our terms of use and privacy policy.
OR
Start your 3 days free trial now
Already have an account? Sign In
By clicking the button above, you accept our terms of use and privacy policy.

Have Organization Sign In? Use Single Sign On
(Ensure popup is allowed for this site)
Don't have an account? Sign Up
OR


![PLM Teamcenter Interview Questions and Answers – [HR Expert List]](https://igetitv2ww-dev.myigetit.com/wp-content/uploads/2025/02/blog-350-x-197-px-100x80.webp)