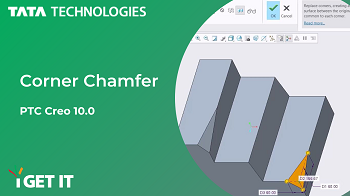
How to Create Corner Chamfer | PTC CREO 10.0
July 27, 2023 2023-10-03 17:15How to Create Corner Chamfer | PTC CREO 10.0
Corner chamfer, also known as beveling or chamfering, is a crucial manufacturing process used in various industries to refine and enhance the edges of a wide range of materials and objects. By removing sharp corners and edges and replacing them with beveled surfaces, corner chamfering provides numerous advantages in terms of aesthetics, functionality, and safety.
Know the Corner Chamfer Command in detail and other fundamentals from our PTC Creo certification courses for engineers.
In this Tech Tip, we will explain about creation of Corner Chamfer.
You can use the part file from the – Tech Tip Articles – i GET IT (Active Subscription is required)
Please follow below steps or refer to video to get the required result:
(accept cookies to see the video)
Step 1
Open corner_chamfer.prt

Step 2
Select Corner Chamfer command from Chamfer drop-down under Engineering group of Model tab.

Step 3

Pick one Vertex from the model and define the parameters as:
D1 = 60, D2 = 220, D3 = 40.
Step 4
Click OK to complete the Corner Chamfer command.

Step 5
Select Corner Chamfer command from Chamfer drop-down under Engineering group of Model tab again to create one more Corner Chamfer

Step 6
Pick one Vertex from the model and define the parameters from setting in Ribbon as:
D1 = 60, D2 = 100, D3 = 45.

Step 7
Click OK to complete the Corner Chamfer command.
Observe that two Corner Chamfers that are created on the model.

Check out our complete catalog of courses for engineering students and professionals. Stay tuned to i GET IT tech blog for more such tips.
If you like our Tech Blogs do share them using following share this post icon.
Related Posts
Top AutoCAD 3D Commands & Shortcuts with Examples
How to Create Stitch Weld in Weldments using Autodesk Inventor?
How to Create Blend Curve on Surface using Siemens NX?
How to Enhance Project Sketched Points in Creo Parametric 11.0?
Find
Categories
Latest Posts
Popular Tags


![PLM Teamcenter Interview Questions and Answers – [HR Expert List]](https://igetitv2ww-dev.myigetit.com/wp-content/uploads/2025/02/blog-350-x-197-px-100x80.webp)


